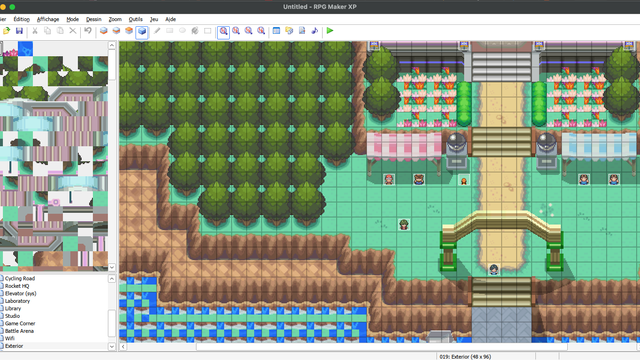
First thing first, this tutoriel could never have been possible without boonzeet's tutorial on EeveeExpo so shout out to them and thanks for the initial work! This tutorial aims to provide the now correct dependency used for running RPG Maker XP on MacOS, and also cover the issue of the double installer case.
DISCLAIMER: this tutorial was made to work with legit and valid copies of the standalone RPG Maker XP installer which you can find on the official RPG Maker website. You need to have a valid copy for this to work. Using this tutorial with an illegal copy is at your risk and peril. Also, the use of this tutorial and the results are your responsability, not ours.
Although Studio 3.0 is in development and plans on replacing RPG Maker XP (which I'll call RMXP from now on), some people might still want to be able to use RMXP to create events for their project until the release of Studio 3.0. For those with a Windows computer, it's easy as hell. For Mac users, it's a challenge, as the recommended solutions generally involve Parallel (to create a Virtual Machine), or WINE (which may not be the easiest thing to setup)... Enters Sikarugir, a WINE wrapper for Windows executable.
Prerequisites
- Knowing how terminals and inputting command lines work
- Homebrew (which you can install here if it's not already done)
- Update Homebrew with
brew update && brew upgrade - Wine-stable (which you can install AFTER Homebrew using
brew install --cask wine-stable) - Sikarugir (which you can install AFTER Wine-stable using
brew install --cask --no-quarantine Sikarugir-App/sikarugir/sikarugir - A legal copy of RMXP, and the .exe installer already downloaded and available on your Mac
Configure Sikarugir
First thing first, open Sikarugir (either by opening your Applications folder, or by opening the Cmd+Space Spotlight window then typing Sikarugir). Once it's opened, you'll see this window (cf. screenshot).
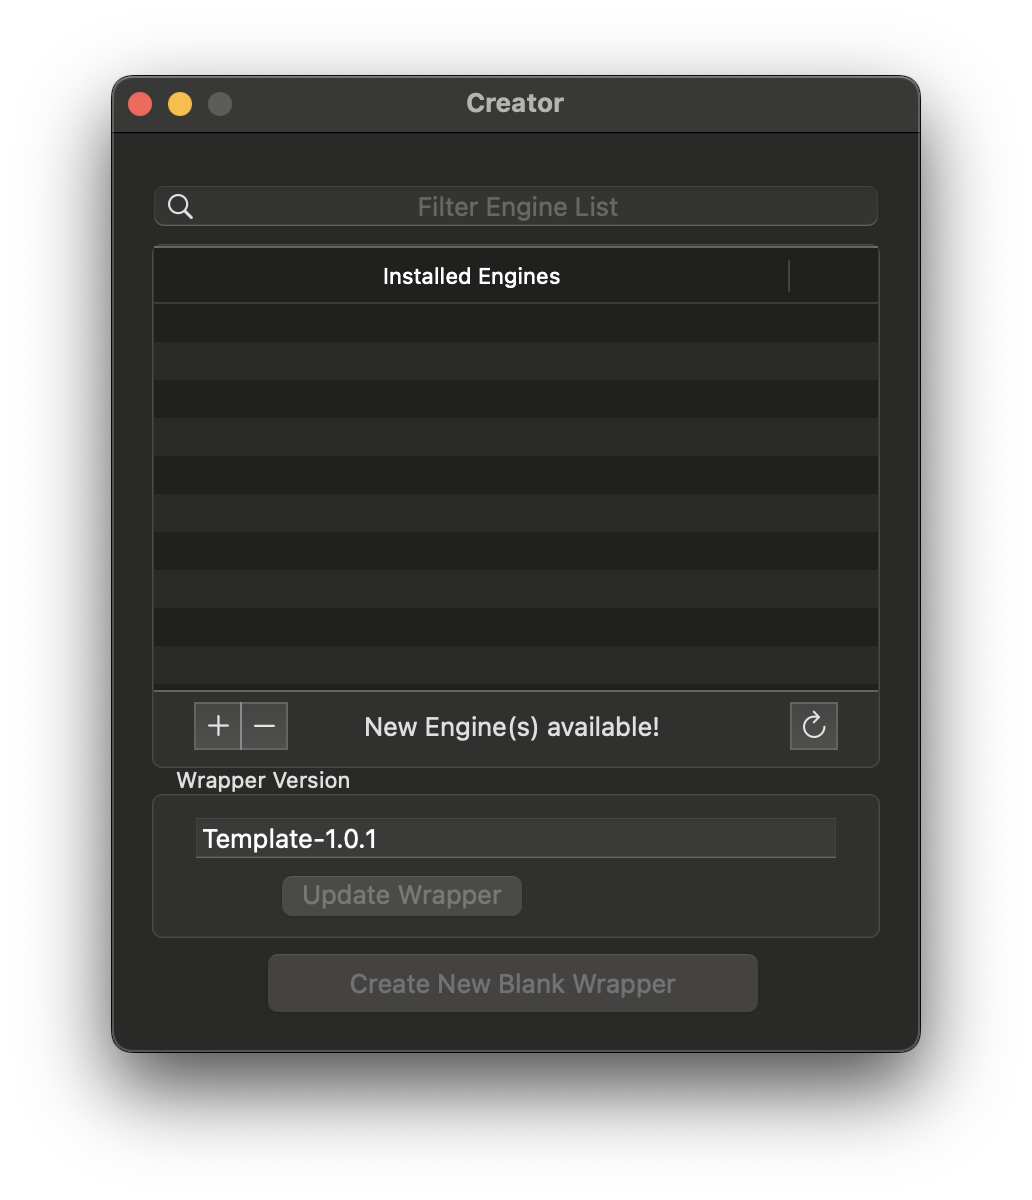
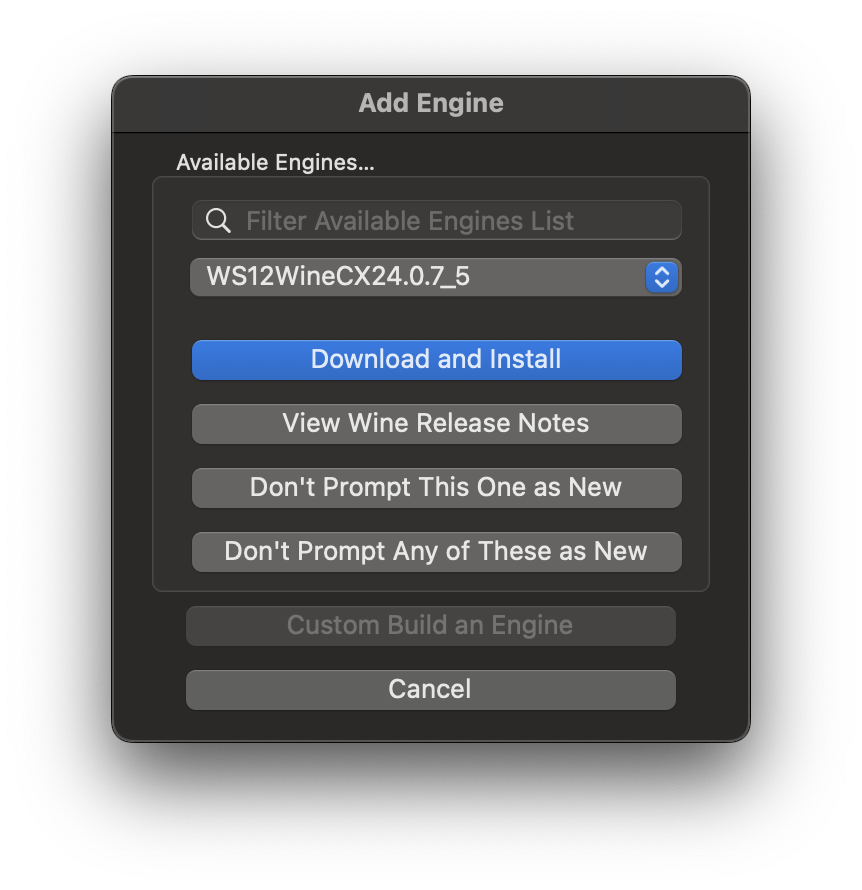
Click on the "+" button, a new window named "Add Engine" opens.
Click on the dropdown menu and select the first option if it's not the case. As of the writing of this tutorial, the latest update is WS12WineCX24.0.7_5. Once you've selected the right engine, click Download and Install, and let Sikarugir install the Engine for you. If Sikarugir asks you to confirm the installation, confirm the name and then click OK.
Once it's downloaded, you'll be back to the "Creator" tab. If "Update Template" is not greyed out, click on it to get the latest version of the Wrapper template.
Create the RMXP wrapper
Now that Sikarugir is configured, time to create our RMXP wrapper! To do so, click on your newly created engine, then click on "Create New Blank Wrapper". A window will open, asking you to give a name to your application. You can name it RPG Maker XP, RMXP, or whatever you want, just know that the name you'll give now is the one you'll have to type if you want to open it from the Cmd+Space Spotlight window. :)
WARNING: when you click on OK after entering the name, it may seem like Sikarugir is crashing (spinning wheel of death). It's actually not as it is creating an entire wrapper so let the software cook and keep the tab on the foreground. Depending on your machine, it may be fast (less than a minute) or last around 5 to 10 minutes.
Once it's finished, it'll alert you that it has created your application. You may open it using the Cmd+Space Spotlight window and type the name you chose earlier.
Configure our application
With our application created, it's now time to tell the Engine (WINE) what's your application and how it should work. Fortunately, we'll be greeted by the following window.
Click on the "Install Software" button. A new window pops. Click on "Choose Setup Executable", then head to your RMXP installer's location on your Mac.
Note: if you happen to have one installer for RMXP, and one installer for the RGSS RTP, make sure to install RMXP first. Repeat the steps to install the RGSS RTP after you're done with the RMXP installation.
Select the installer then let wrapper begin its work. After a few seconds, the RMXP installer should appear. Just press Yes/Continue/whatever is the positive choice and make sure NOT to edit the installation path. You're done with the installation, let's head to the next step.
Note: if you have the RGSS RTP installer too, now's the time to redo the exact same steps to install them. Also, same thing, DON'T edit the installation path.

For this next step, I will assume the "Windows app" section does not have the right executable filepath. (it may not happen for those who only have one installer, will definitely happen to those who have two installers)
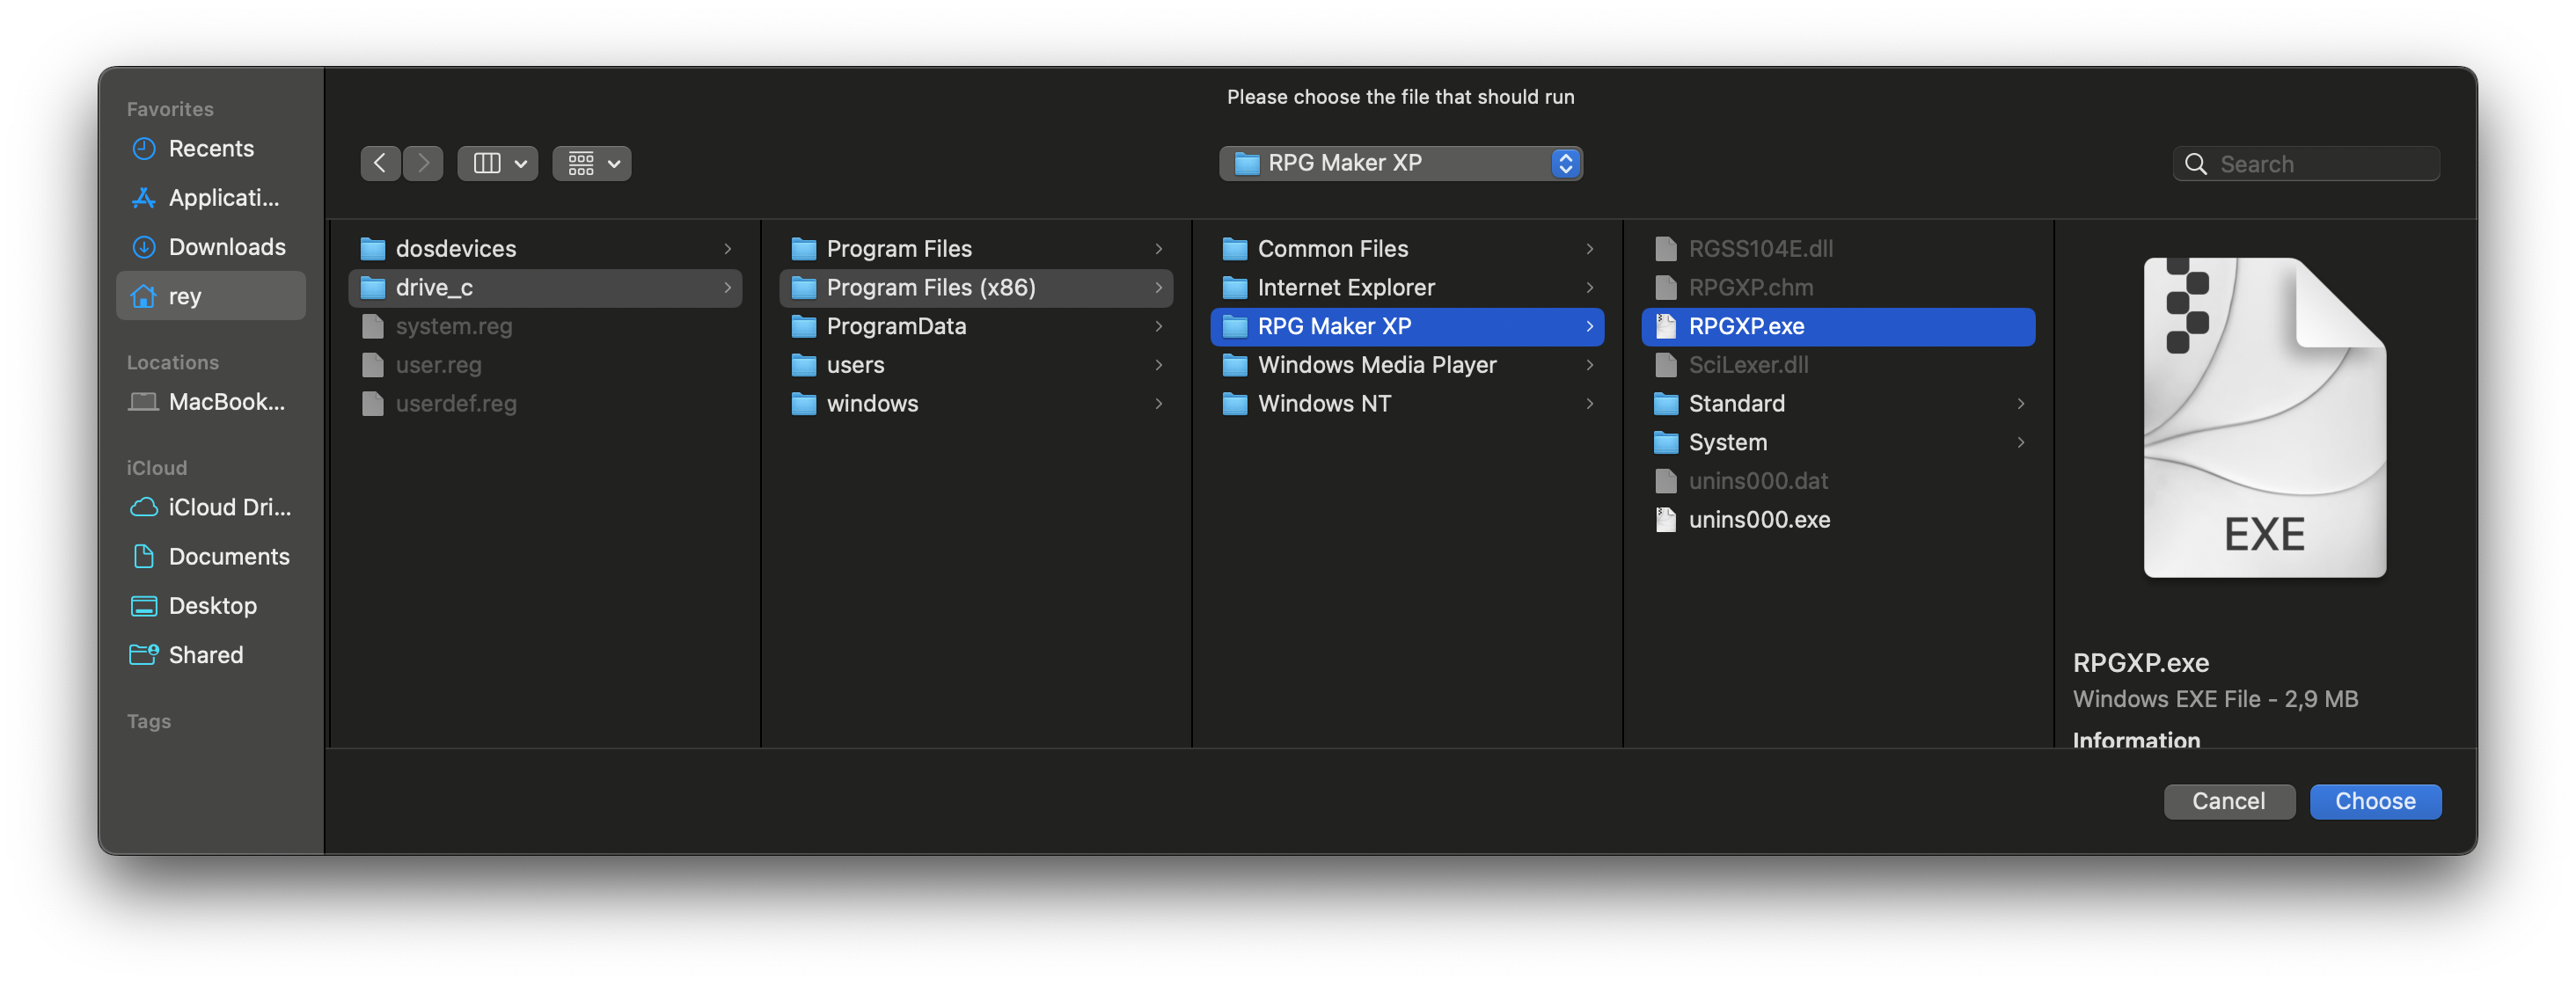
Click on Browse then locate your RMXP executable. If you haven't changed your installation path earlier, it should be located at the same place as shown in the following screenshot. Once found, click Choose. You're back to the "Configure" tab.
You may now click on Test Run to see if RMXP launches correctly. If it opens correctly, then GG you've correctly followed this tutorial. Make sure to NOT use the software in this Test Run mode and close it as soon as possible. It is possible to change the icon. Either you use one of your creation (it must be a .ico file), or you can use this one (again, courtesy of boonzeet, thanks to them!). In any case, head to the last section of this tutorial.
Accessing your project from your MacOS session
After opening RMXP on your Mac, you may be wondering where to find your project as RMXP seems to want to search in the "false Windows c: repertory". To seek your project, first select "My Computer". You should see C: and Z:. Select Z:, you'll now see the exact folder as if you checked the root folder in the Finder. From there, just head to your project's folder (most of the time under Users/username/whatever_folder.
Final word
That's the end of this tutorial! If you think some parts of this tutorial could have been clearer, you have some suggestions, or have info about supporting the Steam version of RPG Maker XP, please contact Rey (pw_rey) on the official Discord server of Pokémon Workshop!
Have fun with RMXP while waiting for Studio 3.0!